A collected hornbeam does not become a bonsai with the first cut — it becomes one with the first choice. This Carpinus betulus was dug from the wild in February: pollarded high, without a single branch, little more than a bare trunk with promising movement. Six months later it had rooted right through its growing box and pushed shoots all along the trunk, and that vigour opened the door to the decision every yamadori hornbeam bonsai eventually faces. Not which branches to wire, not how to prune — but what the front will be. Everything else follows from that.
This article walks through that first styling session, decision by decision: reading the trunk from every angle, choosing the front and the apex, selecting the few branches worth keeping, and making the one large cut that will define the tree’s future scar. The structural logic — apex, first branch, taper — is the same we laid out in our guide to the bonsai apex and first branch; here you see it applied to raw collected material, where nothing is given and everything must be chosen. If you are still deciding what to dig in the first place, start with our guide to what to collect as yamadori and what to leave in the ground.
Enjoying this tutorial? Subscribe to our YouTube channel for more bonsai videos →
Its companion on our benches went through something far harder: a radical root pruning. Did it survive?
From Woodland to Workbench: A Hornbeam Collected in February
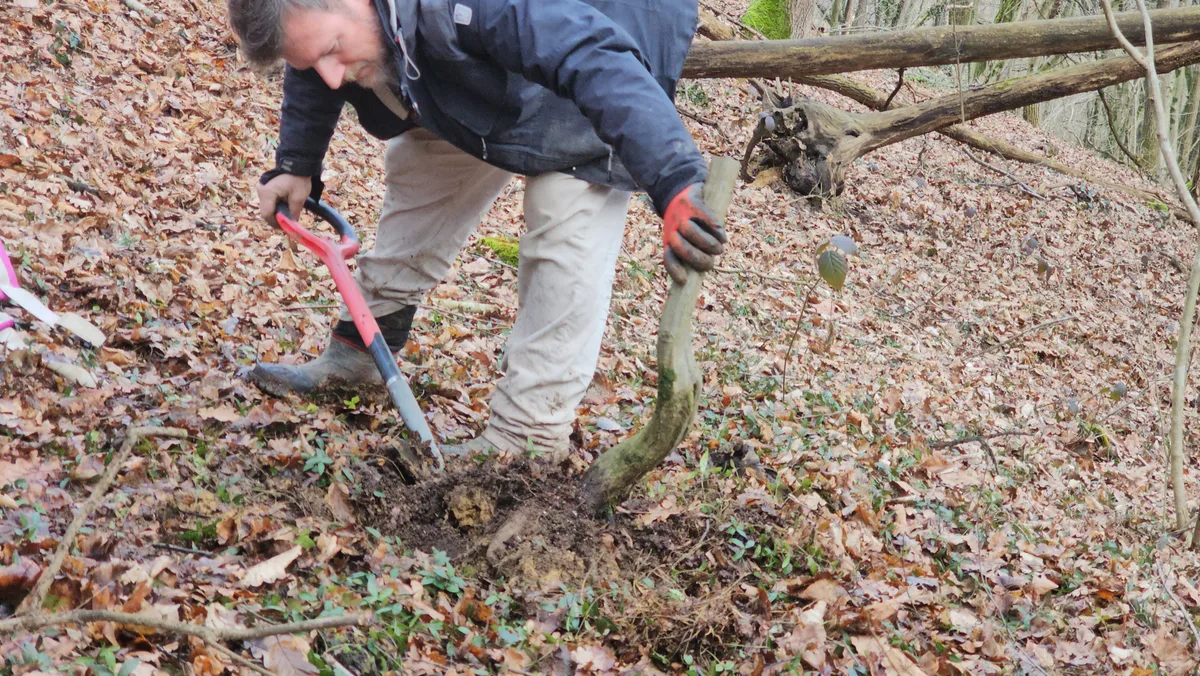
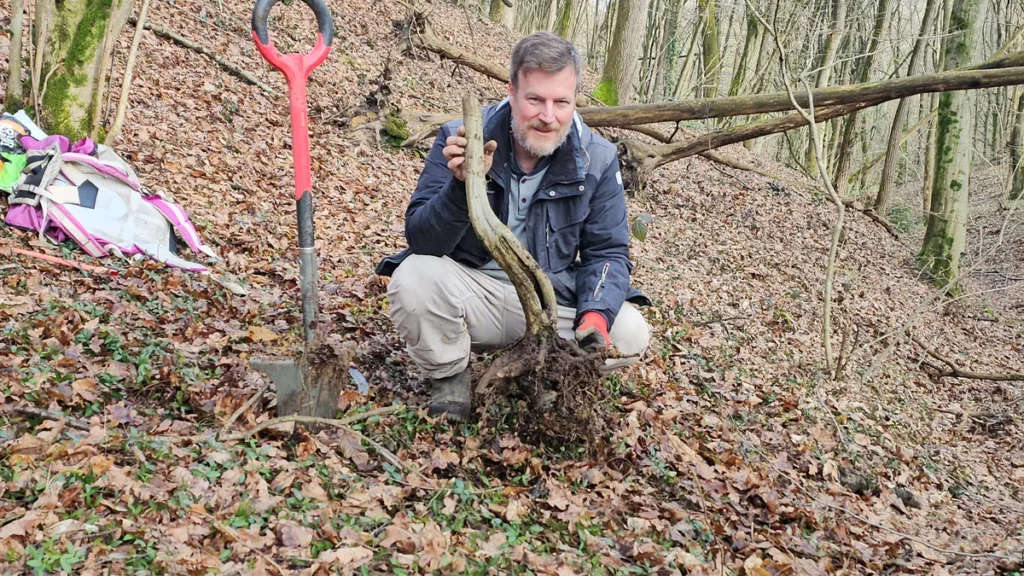
The tree came out of the ground in late winter, at the very start of spring — the classic window for collecting European hornbeam, just before the buds move. In its previous life it had been cut back hard high on the trunk, so it arrived with no branch structure at all: a trunk, a root mass, and nothing else. That sounds like a handicap. For a first styling it is closer to a gift, because the tree answers the amputation by sprouting everywhere, and six months later you are not working with the two or three branches nature left you — you are choosing from dozens.
What made this particular hornbeam worth digging was the trunk itself. It leaves the soil at a decisive angle and twists as it rises, so there is interesting movement from every side you look at. Hornbeams are loved in bonsai for the smooth, muscular fluting of their bark — that sinewed, elegant surface the species develops with age — and this trunk already shows it. There is also a large, old, very natural scar on one flank: interesting in its own right, but not something to build the design around, and ideally something the tree will slowly close over the years.
Why the First Styling Happens in Late Summer, Not Spring
The timing is deliberate. Worked now, at the end of the first growing season, the tree still has the entire second vegetative phase of the year ahead of it — late summer into early autumn — to begin callusing over the cuts and to keep strengthening a root system that is already well advanced.
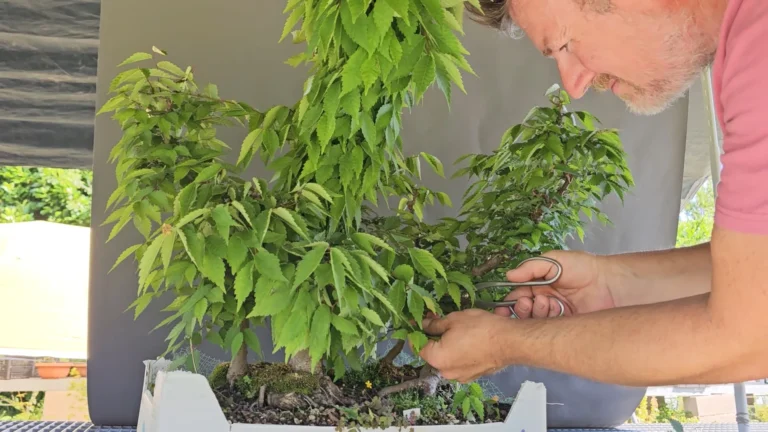
There is a condition attached: the tree has to have earned it. This hornbeam rooted through its entire box in one season and pushed strong shoots along the whole trunk. A collected tree that is merely surviving — few roots, weak extension — gets left alone for another year. The intervention itself is also lighter than it looks: no wiring, no root work, no repotting — just selection and one structural cut, so the demand on the tree’s reserves stays small.
How to Choose the Front of a Yamadori Hornbeam
The front is not found by staring at the tree from your favourite chair. It is found by rotating the tree, slowly, and reading what the trunk does from each position. On this hornbeam a few principles narrowed the field quickly.
First, movement toward and away from the viewer. The most convincing bonsai fronts show a trunk that leans away from the observer as it rises and then returns toward the viewer at the apex — a classic arrangement because it creates depth and a sense of the tree bowing back to meet you. Positions where this trunk moved away and then curled back were immediately stronger candidates; the side where the movement read flattest, although perhaps the most natural-looking, was excluded for being the least interesting.
Second, the scar. From some angles the big old wound dominates the trunk line. Since it is not going to be a design feature, every front that put the scar on full display was ruled out, which removed an entire arc of possibilities at a stroke. A front that leaves it glimpsed at the edge was considered — hornbeam bark and old wounds can be attractive together — but managing a scar with deadwood at the front of a deciduous tree is a long-term liability, and it lost out.
Third, the future pot. A trunk reads differently the moment you imagine tilting it a few degrees at the next repotting, so each candidate front was judged twice: as the tree sits now, and as it would sit slightly inclined in a bonsai pot. The chosen front shows the trunk leaving obliquely, swinging away from the viewer, and returning at the top, with a slight convexity toward the observer low on the trunk — and beneath it sits an existing nebari that will be improved over the years, the slow root-building work we cover in our air layering and nebari guide.
The Apex Should Not Drive the Decision
A tempting shortcut when styling collected material is to pick the front that makes the existing shoots look best — especially the one that hands you a ready-made apex. It is a shortcut worth resisting. An apex can be rebuilt from almost any strong shoot in a season or two; the front, once the structural cut is made, is far harder to walk back. Choose the front on the trunk’s merits, then see what the apex situation looks like.
That said, if the front you choose happens to come with a well-placed apex — use it. Here, the chosen front offered a shoot in exactly the right zone: low, with good inclination, moving back toward the viewer, and positioned so the trunk keeps strong taper into the top. Given the diameter and taper of this trunk, the new apex needed to sit low; a tall apex on a heavy squat trunk destroys the impression of mass. Everything above that chosen shoot was marked to go.
Branch Selection: What Stays and What Goes
With front and apex fixed, branch selection becomes almost mechanical. The eliminations followed a consistent set of rules, each one worth internalising because they repeat on every deciduous yamadori — we have since written them up for any tree in our beginner’s guide to pruning a bonsai:
- Shoots sprouting where they would ruin the bark — hornbeam’s smooth fluted bark is a major asset, and buds pushing through it get removed on sight.
- Branches born on the inside of curves — they contradict the trunk’s movement and always read wrong.
- Vertical shoots heading straight up with no usable future direction.
- Doubles and clusters — where two or three shoots emerge from the same zone, the best-placed one stays and the redundant ones go.
- Anything hiding the front — a branch that crosses the trunk line from the viewer’s position obscures the very feature the whole design is built on.
- Branches too high or too low — beautiful movement does not save a branch that sits above the future apex or crowds the base.
Two judgement calls are worth noting. A branch very low on the trunk, growing from the outside of a curve, was left in place for now: it could one day counterbalance the trunk’s strong movement, perhaps even become a companion element, and it costs nothing to keep while the decision matures. And a pair of good branches on the same side posed a choice that was deliberately deferred — after the top cut, the tree will still offer plenty of options, and a decision you can postpone without cost is a decision you postpone.
One principle governed everything kept: on a trunk this heavy, the branches must stay thin. Fine branches accentuate the mass and age of the trunk by contrast; thick branches compete with it and shrink it. The future ramification will be built delicate on purpose.
The Top Cut and Protecting the Wound
The session’s one big intervention was removing the entire upper section of the trunk above the new apex. The initial cut was made deliberately rough and deliberately generous — about half a centimetre of safety margin above the final line — positioned so that the apex shoot and the two neighbouring keeper branches were never at risk from the saw. The wound was then shaped with concave cutters, so the scar can start healing as soon as possible, and finally sealed with wound paste.
That scar, together with the continuing root development, is now the most urgent thing this tree has to work on. The branches will come — hornbeam rebuilds branch structure willingly. A clean, well-healing transition where the old trunk was removed is much harder to get back if it starts badly, which is exactly why the cut was made now, with a full half-season of callusing ahead of it.
What Happens Next
For this year, the work is done. The tree goes back to doing what it does best: running roots and building callus. Next year the branch structure starts to be formed in earnest. The chosen low branch may or may not earn its place; one of the deferred either-or choices will get made; and — worth admitting — the front itself still carries a small question mark. From a neighbouring angle the tree also reads well, and if that view wins in the end, some branch choices would be revisited. With material this responsive, keeping a little optionality open is not indecision; it is good management of a tree that will keep offering new possibilities for years.
Key Takeaways
- On collected material, the first styling is above all the choice of the front — branches can be rebuilt, the front effectively cannot.
- Style a yamadori only once it has proven itself: this hornbeam had filled its box with roots and sprouted along the whole trunk within six months of collection.
- Late summer timing gives the tree the second vegetative phase to start healing the cuts and keep building roots.
- Find the front by rotating the tree: look for a trunk that moves away from the viewer and returns at the apex, and put major scars at the back.
- Do not let a ready-made apex dictate the front — but use it gladly if the right front provides one.
- Remove inner-curve, vertical, redundant and front-hiding shoots; keep future branches thin so the trunk reads heavier.
- Cut with a safety margin, refine the wound with concave cutters, then protect it with cut paste.
The same criterion — the trunk decides the front, the foliage is negotiable — settled a much harder case on a conifer: an Itoigawa juniper whose competition-winning front we abandoned in favour of the trunk’s real movement, at the cost of its two best branches.
Frequently Asked Questions
How soon after collection can you style a yamadori hornbeam?
Only once the tree has demonstrated real recovery — visible rooting through the container and strong shoot growth along the trunk. This hornbeam was collected in February and was vigorous enough for a first structural session by August of the same year, but that is the tree setting the calendar, not the calendar setting the tree. A collected hornbeam that is merely ticking over gets another undisturbed year. The first session should also stay light: selection and one structural cut, with no root work and no wiring on fresh, tender shoots.
Why is the front chosen before the branches?
Because every other structural decision depends on it. The apex must return toward the viewer relative to the front; the first branch, the depth branch and every keeper are judged by how they present from the front; and the big trunk cut is positioned so its scar hides from the front. Choose branches first and you will choose them for a view you may later abandon. On collected material the order is absolute: front, then apex, then branches — everything else on the tree is more recoverable than a badly chosen front.
What makes a good front on a yamadori trunk?
Movement, believability and careful scar management. The strongest fronts show the trunk leaving the soil with decisive movement, leaning away from the observer as it rises and returning toward the viewer at the apex — an arrangement that creates depth and draws the eye up the tree. Large scars belong at the back or, at most, glimpsed at an edge. And judge every candidate front twice: as the tree stands today, and as it will stand slightly tilted in its future pot, because a few degrees of inclination can promote or eliminate a front entirely.
Why keep only thin branches on a thick trunk?
Contrast. A heavy, muscular trunk looks heavier when the branches growing from it are fine, and older when its ramification is delicate; thick branches compete with the trunk visually and diminish the very mass that made the tree worth collecting. On a hornbeam there is a second reason: coarse branches mean coarse scars later, on a species whose smooth, sinewed bark is one of its main attractions. The future canopy of this tree will be built deliberately fine, even though the trunk could physically support far heavier limbs.
How do you treat the large cut after removing the top of a collected trunk?
Cut generously, refine and then seal. The initial removal is made with a safety margin — roughly half a centimetre above the final intended line — placed so the future apex and the nearby keeper branches are never at risk from the saw. Then comes the shaping of the wound with concave cutters, to ensure that the scar starts healing as soon as possible. Finally, the wound is covered with cut paste to protect it while the tree, with a full half-season of growth ahead, begins forming callus.