How do you prune a bonsai? With three decisions, in this order. When: maintenance pruning whenever a shoot has run and its new leaves have grown large, which on a vigorous tree means late spring and again in summer; structural pruning once, at the end of dormancy or in late summer, and only on a tree that has shown it is strong. What: cut what grows inward, straight up or straight down, from the inside of a curve, or in a cluster from one point; keep what grows outward. How much: back to where the leaves are still small, roughly two internodes, and always leave some leaves behind the cut.
That is the whole method. The rest of this guide explains why each rule exists, using three trees we have filmed on our benches: a zelkova forest pruned and defoliated in a heatwave, a young trident maple at its first summer cut and a collected hornbeam at its first structural session. It is written for outdoor trees, the species we grow, and for the first years of owning one. Whether you call it pruning or trimming, the logic is the same.
Two kinds of pruning, and why beginners mix them up
Almost every mistake made with bonsai scissors comes from confusing two different operations that share a name.
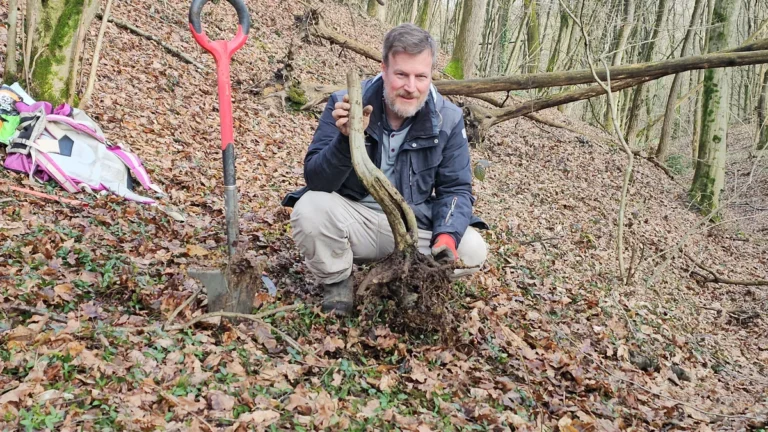
Structural pruning decides what the tree is: which trunk line, which apex, which few branches stay. It removes whole branches, sometimes the whole top of a trunk, and it is done rarely. On our collected hornbeam it was a single session: choose the front, choose the apex, keep a handful of shoots, make one big cut, seal it. Everything else waited.
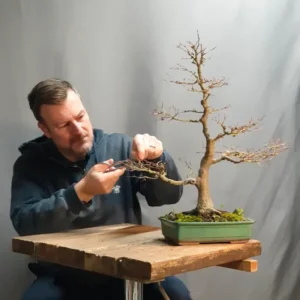
Maintenance pruning keeps what the tree already is: it shortens the green shoots of the season so that growth stays fine and close to the trunk. It is done often, on a vigorous deciduous tree several times between spring and the end of summer. On the trident maple the job fits in one sentence: the point is not to refine the silhouette, it is to stop the leaders before they damage the ramification you already have.
For a tree you have just bought or just collected, the rule is simple: in the first year, maintenance only. The structural decisions wait until the tree has shown you, with roots and shoots, that it has the strength to pay for them.
When to prune: read the tree, not the calendar
Maintenance: when the leaves get big. A deciduous shoot starts the season with small leaves at its base and makes progressively larger ones as it runs. The moment the new leaves are visibly larger than those on the rest of the tree, the shoot has already gone past the internodes you wanted to keep, and it is thickening the branch it grows from. That is the signal, not a date. On the zelkova forest it came in late spring, in the middle of a heatwave, and the heat made it more urgent rather than less: a tree under heat stress is quicker to abandon the shaded buds in its interior. On the trident maple the first cut was made in early May, while the shoots were still soft. Cut a run after it has hardened and the wound closes more slowly, the scar shows, and the branch has gained the girth you were trying to avoid.
Structural: when the tree has earned it. Big cuts are made on a tree that is clearly strong, at a moment when it can start healing them. Our hornbeam was styled at the end of its first growing season, in late summer, because by then it had rooted through its whole box and pushed shoots along the entire trunk, and because a cut made then still has the second growth phase of the year to begin callusing instead of sitting open and idle all winter. A tree that is merely surviving, with few roots and weak extension, gets another undisturbed year however much you want to start. The end of dormancy, before the buds move, is the other classic window for structural work on deciduous trees. Either way the first session stays light: selection and one cut, no root work, no wiring on the same day.
What happens if you never prune? The tree prunes itself, and badly. Left alone after the spring flush, the zelkova forest would have become a wall of oversized outer leaves shading its own interior, and the small, refined buds closest to the wood, the most valuable thing the tree owns, would have dried out because the tree no longer thought them worth feeding. Wait a few weeks too long and the tree makes that selection for you, rarely in your favour.
What to cut: the direction rules
Enjoying this tutorial? Subscribe to our YouTube channel for more bonsai videos →
With front and apex fixed, branch selection becomes almost mechanical. That was Luca’s phrase on the hornbeam, and it holds for any tree: a shoot is kept or removed for where it goes, not for how it looks today. These are the eliminations, in the order we apply them:
- Inward, toward the interior of the tree or across the trunk line, which hides the very feature the design is built on.
- Straight up or straight down. Branches should run broadly outward and horizontal; the apex is the one shoot allowed to climb.
- From the inside of a curve. A branch born inside a bend contradicts the trunk’s movement and always reads wrong; the outside of the curve is where a branch belongs.
- Doubles and clusters. Where two or three shoots leave the same point, the best-placed one stays and the rest go; a tuft from one node reads as artificial.
- Crossing shoots. Keep the one whose direction serves the design and cut the other, usually the coarser of the two.
- Too high or too low. Beautiful movement does not save a shoot that sits above the future apex or crowds the base.
- Anything that would spoil the bark on a species whose bark is its asset, like the hornbeam’s smooth fluting.
Height changes how strict you are. Low on the trunk, keep only clean horizontal branches and leave the lowest one a little longer, because it is the longest branch and has furthest to reach for light. Higher up, accept progressively more upward angles and favour the finer shoots: ramification that tightens from base to apex is what gives a tree its sense of height and age.
Two more rules sit above the list. The apex is the continuation of the trunk: the shoot that carries the trunk line upward with a clean flow, never the thinnest option, and usually born on the outside of a curve. The first branch is the lowest usable branch your eye meets travelling up the trunk. And on material where nothing is decided yet, the order is absolute: front first, then apex, then branches, because everything else on a tree is easier to correct than a badly chosen front.
How much to cut: let the leaf guide you
The textbook says “cut back to the first two internodes”. On one refined tree you can count buds; on a forest carrying thousands of shoots you cannot, and the session would never end. The practical rule is to read leaf size instead, because the leaves tell you where you are on the shoot. Where they are small, you are within the internodes you want; where they have become noticeably large, you are past them. So shorten back to where the leaves are small, roughly two internodes, occasionally three, never more.
Always leave some leaves behind the cut. A branch stripped bare may be abandoned by the tree altogether. The leaves you leave are what keep the branch in the tree’s accounts.
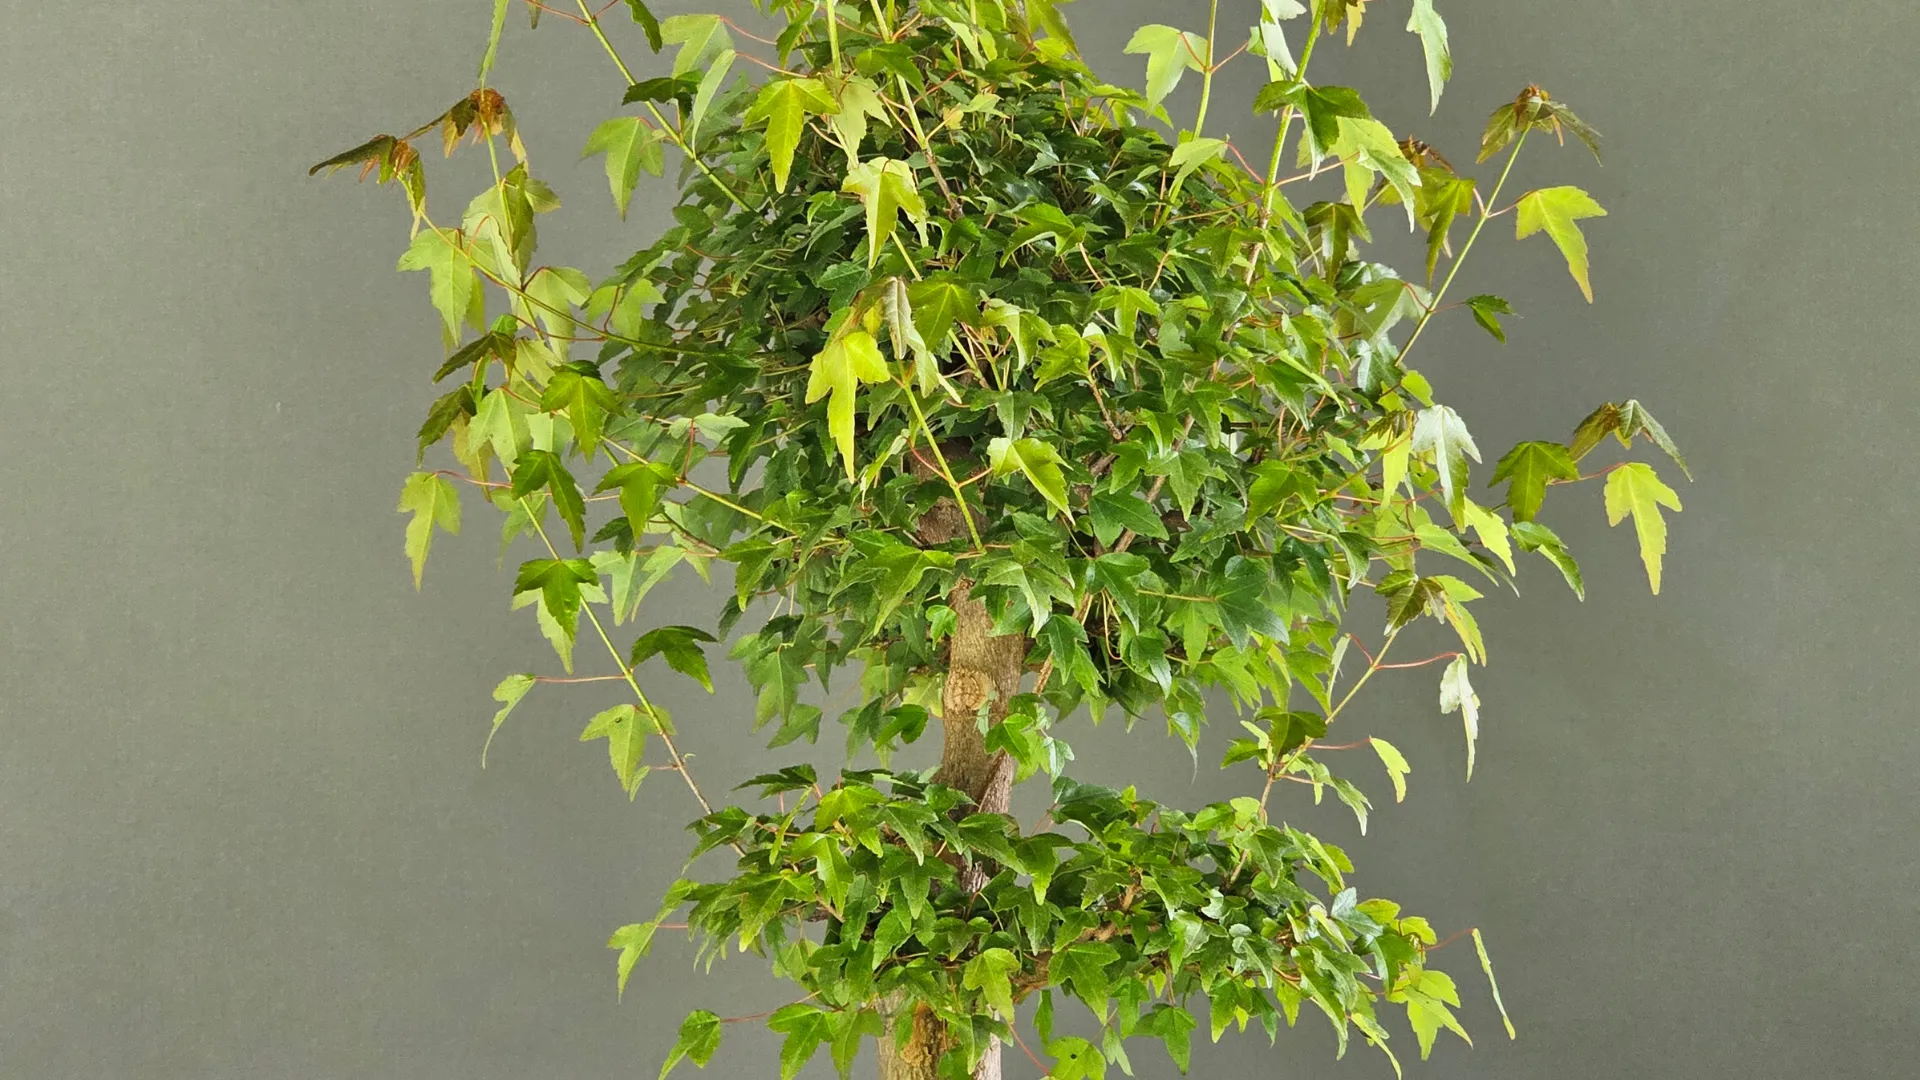
The two-leaf rule, and the exception that matters. On maples, whose leaves come in opposite pairs, the standard summer cut is back to the first pair. But the two new shoots will emerge from the buds in the axils of the leaves you leave, so their direction is dictated by how that pair is oriented. A horizontal pair gives you two branches growing left and right, the lateral spread a pad needs. A vertical pair gives you one up and one down, which is rarely useful. In that case reach back one more node and cut to the pair whose orientation works. The rule restated: cut to the first pair of leaves pointing where you want the new branches to go, even if that means cutting further than the textbook suggests. The same logic runs through our Japanese maple care guide.
Prefer the bud nearer the trunk. When a branch carries both this year’s long run and a small older shoot that broke from interior wood closer to the trunk, the inner shoot is almost always the better leader for next year. Cut the run, keep the back-bud, and accept that the pad looks thinner for a few weeks: by the second flush it rebuilds itself with shorter internodes than the original branch ever produced.
Thin branches on a heavy trunk. Fine branches make a trunk look heavier and older by contrast; thick branches compete with it and shrink it. On the hornbeam that meant keeping every branch deliberately fine even though the trunk could support far more, and, on a species with beautiful bark, it also meant fewer coarse scars later.
Conifers speak another language
Everything above is written for deciduous trees. Pines and junipers grow differently, and the two commonest beginner disasters happen on them.
Pines: work the candles, not the branches. In spring a pine extends its new growth as candles. On our mountain pines and Scots pines these are pinched by hand as they extend, starting with the strongest so that energy is shared across the whole tree instead of concentrated at the top. Structural pruning of branches is a separate job, done outside the growing period: early spring before the candles move, or late autumn. In late summer old needles are thinned to let light into the inner tree and encourage back-budding. And a feeding mistake shows up as a pruning problem: fertilise a pine into late summer and you get long needles and coarse growth that no cut will fix.
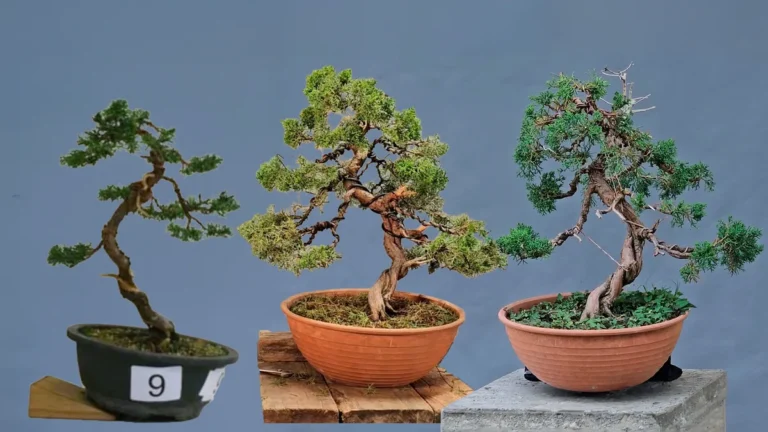
Junipers: selective cuts, never a haircut. You may have read that junipers must only be pinched with the fingers. The real rule is different: never trim across the foliage as if it were a hedge, with fingers or with shears. Cutting blindly through scale foliage wounds the scales; they die back into browned tips and the pads look burnt for months. The nursery method is the opposite. Reach inside the pad with sharp scissors and remove, one shoot at a time, the green stems that would otherwise thicken into wood, keeping the ones that build the silhouette. Light selective work like this can go on through the growing season. Removing whole branches back to wood is a separate operation that Chinese junipers take very well when the tree is healthy and the timing is right; our juniper guide covers both.
Two generalisations we stand by. A deciduous tree that is pushing strongly, a hornbeam, an elm, a trident maple, a zelkova, forgives a big cut; a pine does not, and on a pine nothing is ever taken all at once. And a juniper can be cut in green all season, but its structure is decided once a year, not every time you pick up the scissors.
Defoliation: a tool, not a routine
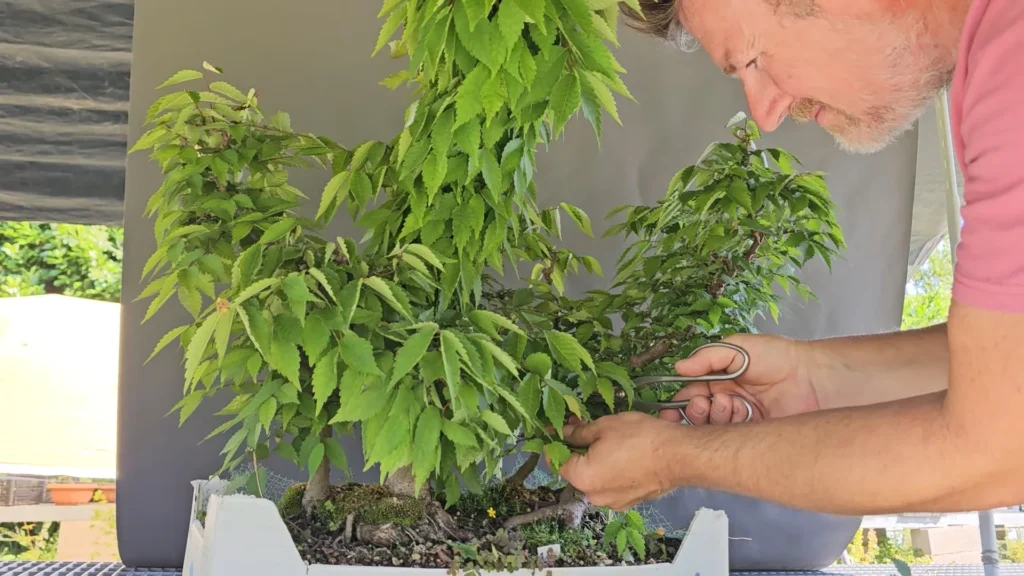
On the most vigorous trunk of the zelkova forest, pruning alone was not enough: so many leaves emerged from the trunk that the structure was invisible, and selecting branches was impossible until the excess was gone. So the work became a partial defoliation, removing the oversized, downward and interior leaves wholesale, simply to see what remained and to flood the centre with light again. Beside the stalk of every leaf sits a dormant bud, and removing the leaf stimulates it; the tree answers with a flush that is both more numerous and made of much smaller leaves, exactly the fine growth a refined canopy needs.
The smaller trunks of the same forest got nothing of the kind. Where light still reached the interior and the branches were already legible, leaving the foliage in place was the correct, more conservative choice; on those trunks the branches to keep were simply left to claim their space and strengthen. Defoliation solves a density problem on the trunks that have one. It is not something you do to a bonsai every June.
After the cut
Seal the big wounds. When the hornbeam lost the top of its trunk, the cut was made deliberately rough and generous, with a safety margin above the final line, placed so that the apex and the neighbouring keeper branches were never at risk from the saw, and then covered with wound paste. The final shaping with concave cutters comes later, once the tree shows how the scar wants to roll. Small maintenance cuts need none of this; a sharp pair of scissors is the only tool a beginner really needs.
Expect more shoots, and smaller ones. A tree answers a cut by growing. After the zelkova session the forest was expected to push smaller, more numerous shoots and to need one, two, perhaps three more interventions before the season ended. One pruning is never the end of the pruning; it is the start of a rhythm.
Not everything at once. The hornbeam’s first session was selection and one cut: no wiring, no root work, no repotting, so the demand on the tree’s reserves stayed small. Wire goes on wood that has hardened, never on fresh, tender shoots.
Seven beginner mistakes we see most
- Structural pruning a tree that has not earned it, with few roots and weak extension, because the calendar said spring.
- Trimming a juniper across the pads like a hedge, then wondering why the tips went brown.
- Cutting a maple back to a vertical pair of leaves and getting one branch up, one down.
- Stripping every leaf off a branch, so the tree abandons it.
- Treating every trunk, or every branch, the same instead of according to its own vigour.
- Feeding a pine into late summer, then blaming the scissors for the long needles.
- Doing structural pruning, maintenance pruning, wiring and repotting in the same session because the tools were out.
No tree to practise on?
Pruning is learned with scissors in hand, and the first tree should be one that forgives. A young pre-bonsai grown in a nursery arrives with roots already used to a container and the vigour to answer a cut with new growth; the deciduous species we grow, maples, hornbeam, elm, hawthorn, are also the ones that back-bud readily when you get it wrong. If you are starting from zero, our beginner’s page explains which species to choose and what a pre-bonsai actually is; the trees themselves are in the young pre-bonsai collection. And if you already own a tree and are not sure whether it is ready for a structural cut, a one-to-one consultation exists for exactly that question.
Key takeaways
- Two operations share one name: structural pruning decides what the tree is (rarely, on a strong tree); maintenance pruning keeps it (often, in the growing season).
- When: maintenance as soon as the new leaves get big and before the shoot hardens; structural at the end of dormancy or in late summer, only on a tree that has earned it.
- What: remove inward, vertical, inside-curve, clustered and crossing shoots; keep what goes outward. Front, then apex, then branches.
- How much: cut back to where the leaves are small, about two internodes, and always leave leaves behind the cut.
- Maples: cut to the first pair of leaves pointing where you want the new branches to go.
- Pines are candles; junipers are selective cuts inside the pad, never a haircut.
- Defoliate only to solve excess vigour, seal big wounds, expect more and smaller shoots, and plan the next session.
Frequently asked questions
What happens if I don’t prune my bonsai?
The tree prunes itself, and not in your favour. Unchecked shoots thicken the branches they grow from, the large outer leaves close over the interior, and the small buds closest to the trunk, the ones future ramification depends on, dry out because the tree stops feeding them. On a vigorous deciduous tree in full growth a few weeks make the difference; in hot weather it goes faster.
When should a beginner prune a bonsai for the first time?
Maintenance pruning can start in the first season, as soon as a shoot has run and its new leaves are visibly larger than the rest: shorten it back to where the leaves are small and leave some leaves on. Structural pruning waits until the tree has shown real strength, roots filling the container and shoots along the whole trunk, and is done at the end of dormancy or in late summer, never on a tree that is merely surviving.
Can you cut a bonsai back hard?
On a strong deciduous tree of a species that back-buds readily, yes. Our hornbeam was cut back to a bare trunk and sprouted along its whole length within one season, and its first styling removed the entire top of the trunk in one cut, sealed, with half a growing season left to heal. On a pine, no: nothing is ever taken all at once. On junipers, cutting branches back to wood is well tolerated when the tree is healthy and the timing is right, but never by shearing across the foliage.
How far back do I cut a shoot?
To where its leaves are still small: that is roughly the first two internodes, occasionally three, never more. Leave some leaves behind the cut so the tree does not abandon the branch. On maples and other opposite-leaved species, cut to the first pair of leaves oriented the way you want the two new shoots to grow, which sometimes means cutting back one pair further.
Can I prune a juniper with scissors?
Yes, and that is how it is done: with sharp scissors, inside the pad, one shoot at a time, removing the green stems that would otherwise thicken into wood. The myth is that junipers may only be pinched with the fingers. What actually damages them is trimming across the foliage like a hedge, with fingers or with shears, because wounded scale foliage dies back into brown tips that spoil the pads for months.